
How to Make Your Own Kefir at Home (And Why You Might Get Addicted)
Let’s be direct: if you’ve never tried kefir, you are missing out on a creamy, tangy, probiotic-rich beverage that’s like yogurt’s cool, fermented cousin.
And no, we are not talking about store-bought bottles lined up next to almond milk. We are talking about the real-deal, fermented at home, full of life (literally) kind of kefir.
If you’ve ever googled “how to make milk kefir at home” and ended up confused or overwhelmed — don’t worry. You’re not alone, and you’re definitely in the right place.
What Exactly Is Kefir, Anyway?
Let’s break it down.
Kefir is a fermented milk drink, packed with probiotics, enzymes, vitamins, and all sorts of gut-loving goodies. People have been sipping this for centuries — think of it as the original probiotic drink, long before kombucha became trendy.
The flavor?
Tangy. Sometimes fizzy. A little sour, but in a good way.
What Are Kefir Grains? (Spoiler: Not Actual Grains)
Here’s where things get interesting.
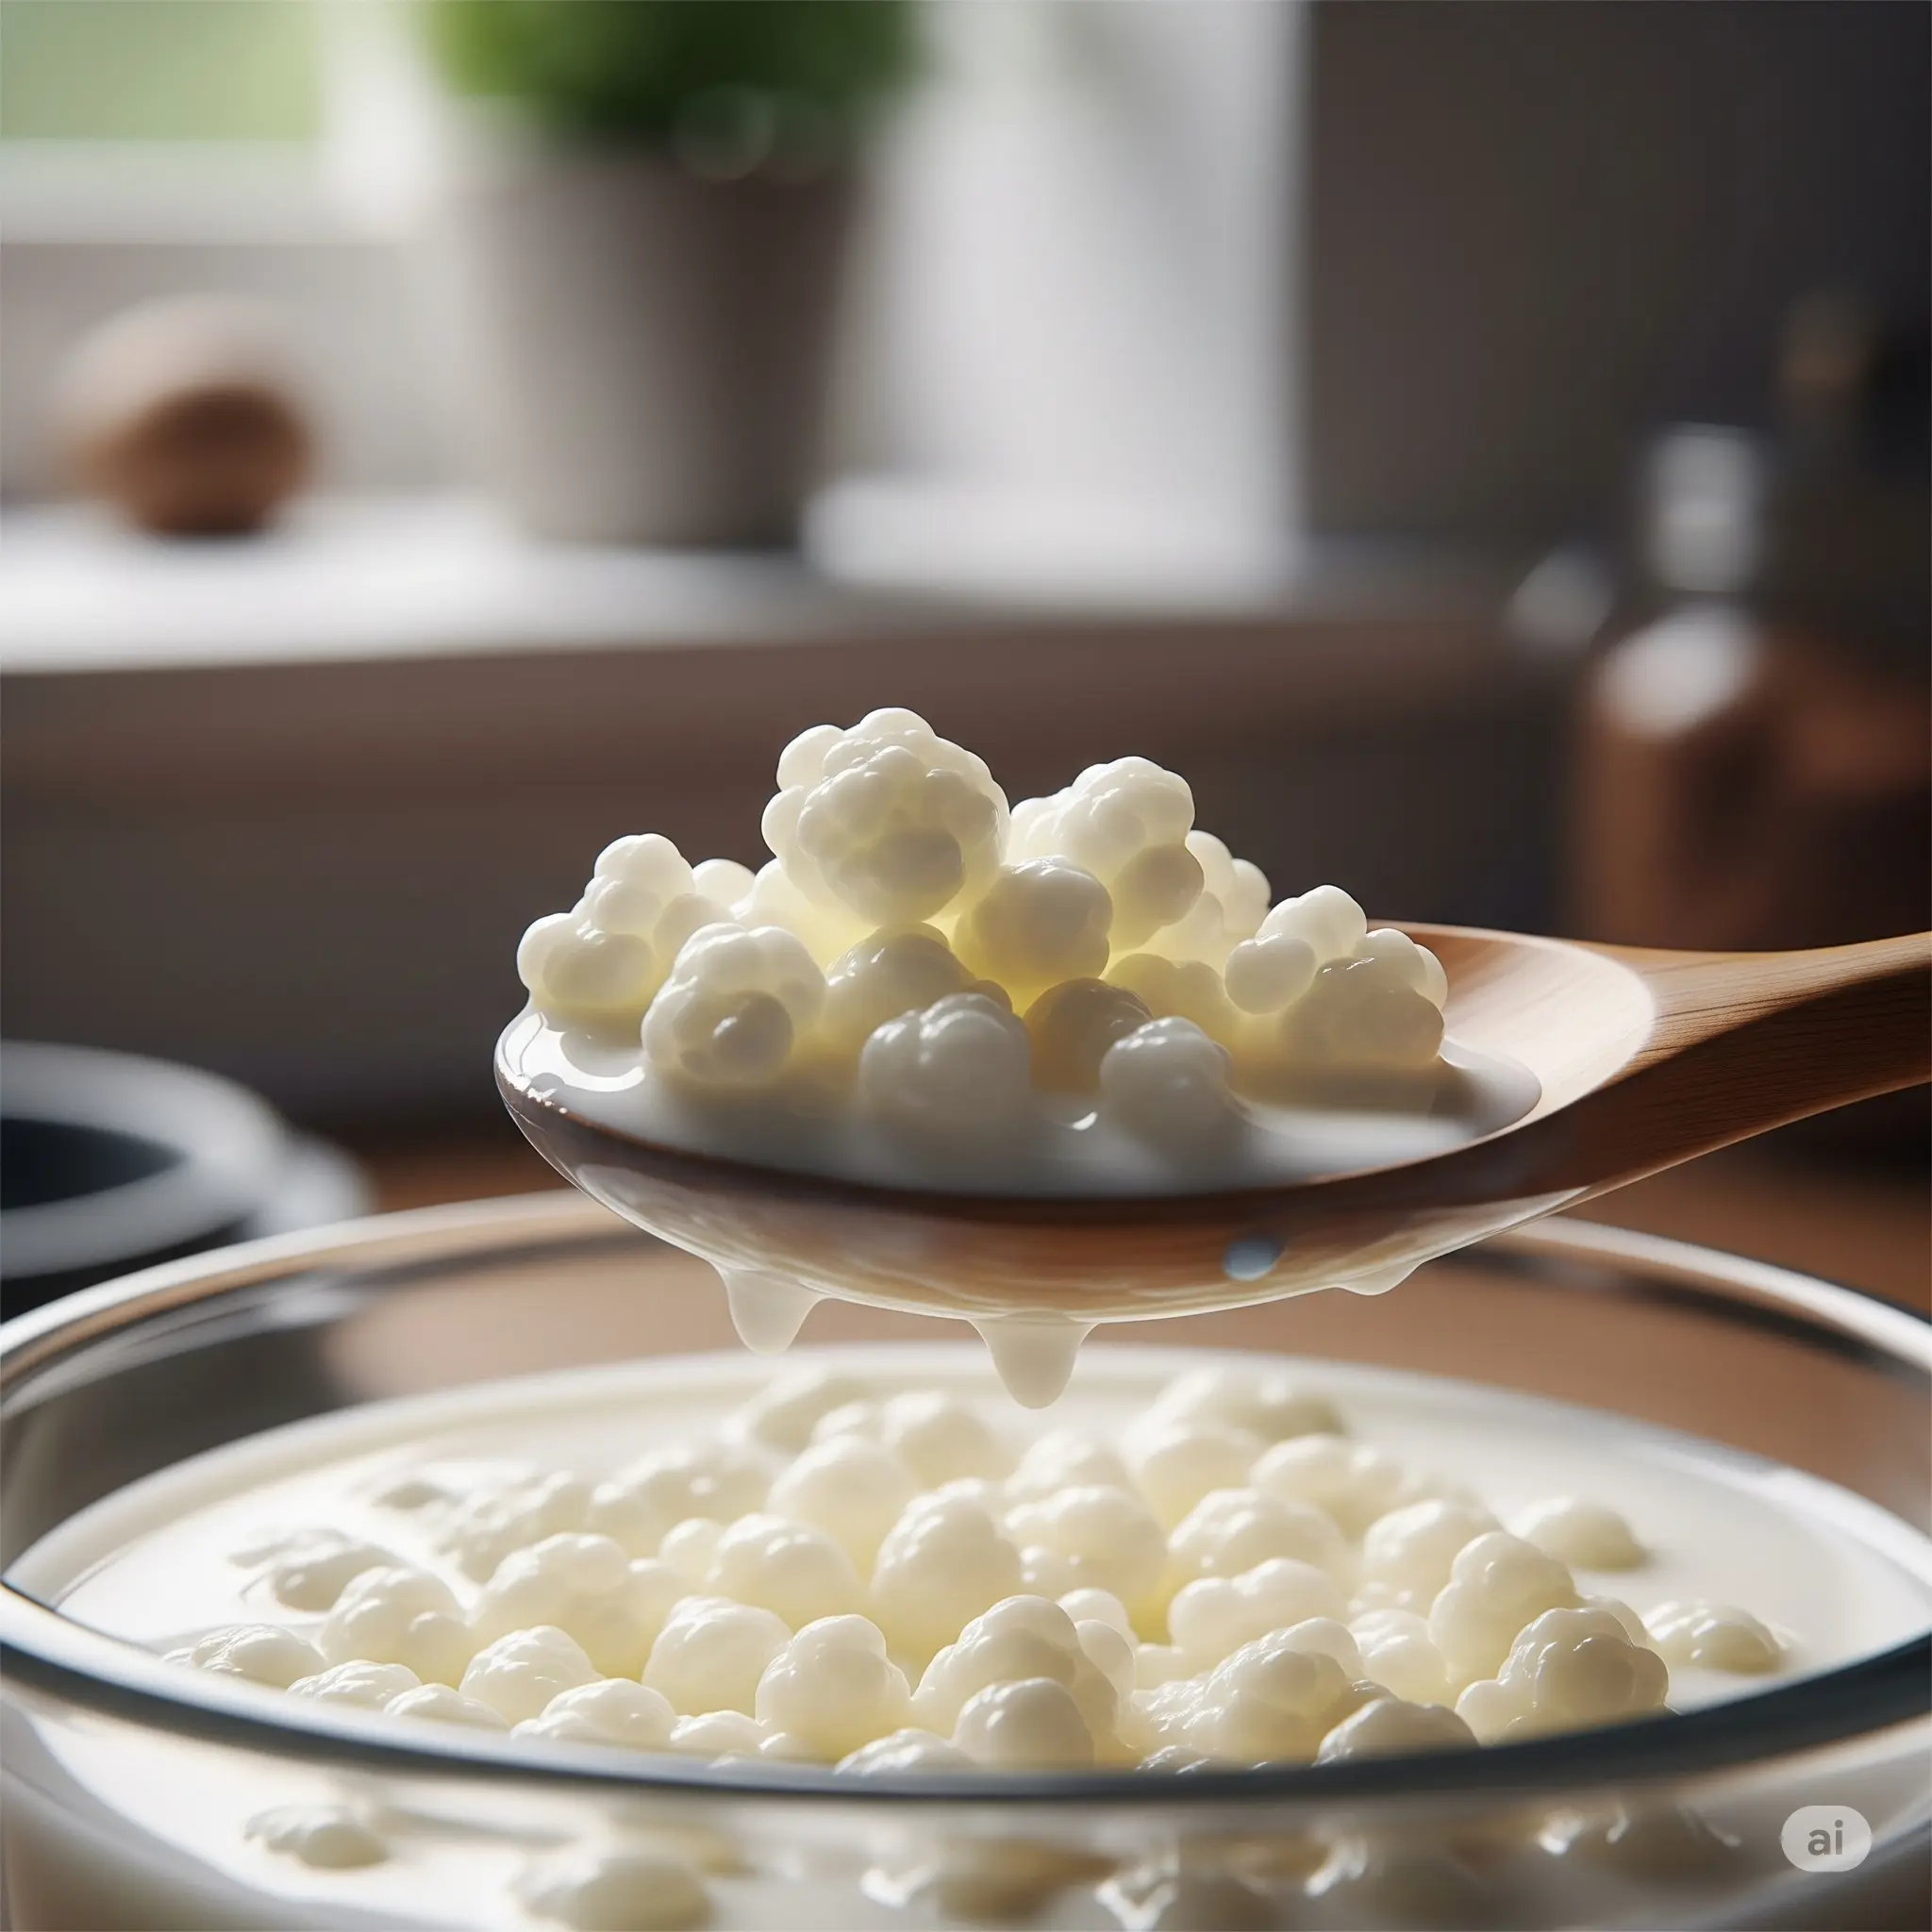
Kefir grains are not grains like wheat or rice. They are a symbiotic colony of bacteria and yeasts (SCOBY) bound together in a gelatinous, cauliflower-like structure.
These microbial communities feed on the lactose in milk, producing a variety of beneficial compounds during fermentation.
What makes them so powerful?
Unlike yogurt, which typically contains a handful of probiotic strains, milk kefir may contain 30 to 50 different strains — including powerhouse bacteria like Lactobacillus kefiranofaciens (Frontiers in Microbiology, 2020).
These grains multiply over time, so once you have some, you’re set for life — as long as you keep them happy.
A macro photo showing live milk kefir grains on a wooden spoon, highlighting their plump, cauliflower-like texture used for making homemade probiotic kefir.
Make Milk Kefir with Real Kefir Grains
Why Make Your Own Instead of Buying?
You could buy it from the store, but here’s why homemade kefir is superior:
- Store-bought kefir is usually pasteurized, meaning many beneficial probiotics are killed off
- It’s often loaded with added sugars
- It’s far more expensive than making it at home
- You control the tang and thickness
- Homemade kefir tastes better and feels more alive
How to Make Milk Kefir: The No-Fuss Guide
This is the part where people usually overthink it.
You don’t need a lab or fancy tools.
Ingredients and Tools You’ll Need
- 1 to 2 tablespoons of live milk kefir grains
- 2 cups (about 500 mL) of fresh milk (cow or goat work best)
- A glass jar (quart size is perfect)
- A breathable cover (coffee filter or clean cloth) + rubber band
- A plastic or wooden spoon
- A plastic mesh strainer
📌 Pro Tip:
Avoid using metal utensils or strainers. Metal can react with acidic kefir and damage the delicate cultures over time.
The Fermentation Begins
Combine
Place about one tablespoon of kefir grains into your clean glass jar.
Pour about two cups of milk over them.
Gently stir with your non-metal spoon.
Cover & Ferment
Cover the jar with your breathable cloth and secure it with a rubber band.
Let it sit at room temperature (68–75°F / 20–24°C), away from sunlight, for 18 to 30 hours.
Check for Doneness
It’s ready when the milk thickens (like a thin smoothie) and smells pleasantly sour.
If it separates into clear whey and curds, it’s still fine — just more tart.
Strain and Repeat
Caption: Straining the kefir separates the finished drink from the reusable grains.
Once fermented:
- Place your plastic strainer over a bowl or jar
- Pour the kefir through it
- Gently stir or shake to separate liquid from grains
- Return the grains to the jar, add fresh milk, and repeat
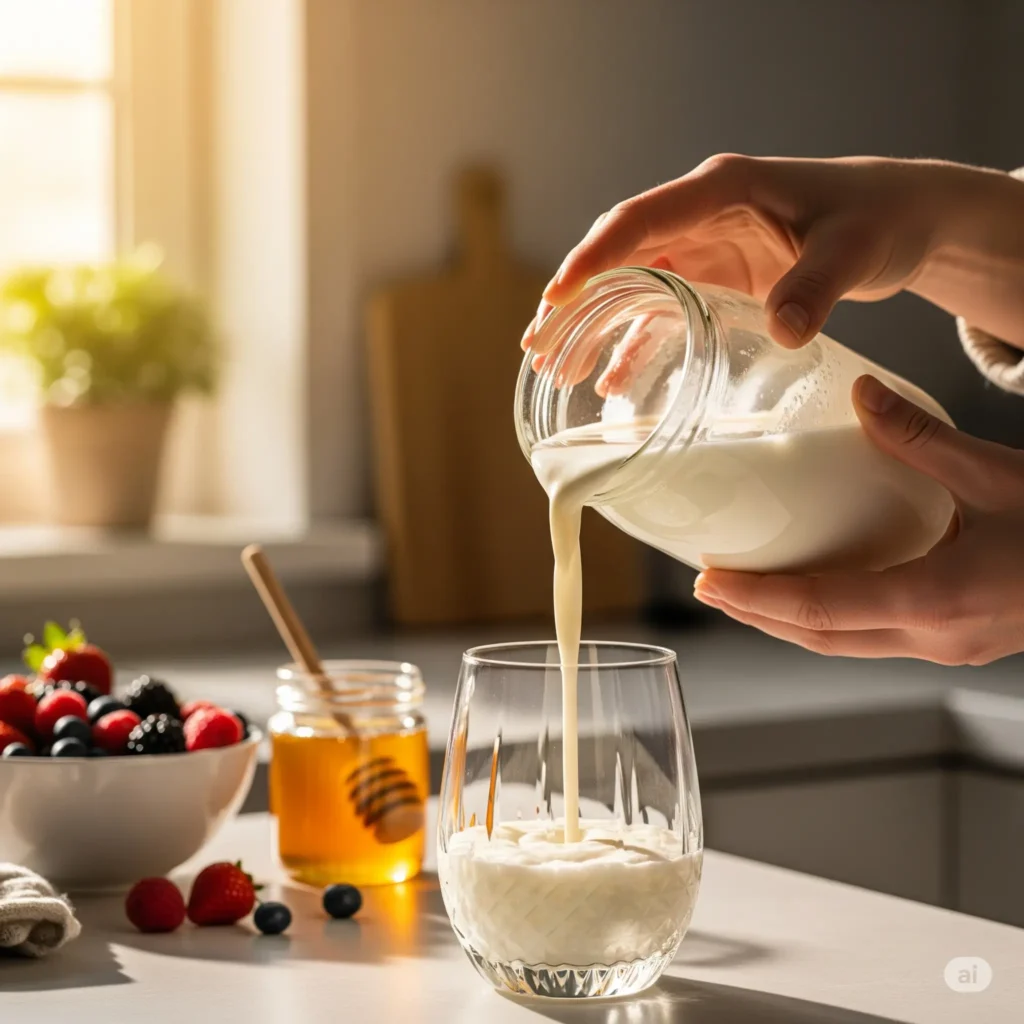
Your kefir is now ready. Chill it, blend it, or drink it straight.
A macro photo showing live milk kefir grains on a wooden spoon, highlighting their plump, cauliflower-like texture used for making homemade probiotic kefir.
“Kefir grains are not actual grains; they are a living symbiotic colony of bacteria and yeasts that ferment milk into a probiotic-rich drink.”

Customize Your Kefir (The Second Ferment)
Want to get creative? Try a second ferment to add flavor.
After straining:
- Pour kefir into a sealed jar
- Add:
- Fresh fruit (berries work great)
- A cinnamon stick or vanilla extract
- A drizzle of maple syrup
Let it sit 6–12 hours at room temperature, then refrigerate.
It becomes creamier, bubblier, and infused with flavor.
The Science-Backed Health Benefits of Kefir
- Supports Digestive Health: Restores gut microbiota and reduces bloating and gas
- Boosts Immune Response: Certain strains have anti-inflammatory and antimicrobial effects
- May Improve Lactose Tolerance: Fermentation breaks down most lactose
- Promotes Skin Health: Through the gut-skin axis, kefir reduces systemic inflammation
complete guide to gut health
Troubleshooting & Storage
- Need a break? Store grains in milk in the fridge (up to one week)
- Too much kefir? Use it in pancakes, smoothies, or dressings
- Is it safe?
- Sour smell = OK
- Rancid smell or mold = Discard
Final Thoughts: Welcome to the Kefir Lifestyle
Making kefir at home is simple, cost-effective, and empowering.
Whether you want better gut health, flavor variety, or a fun DIY project — you’re now part of the fermented family.
🫙 Grab some grains
✨ Trust the process
🥄 Sip the magic
Written by:
Leah Richardson, passionate home fermenter and advocate for natural gut health.
References
- Bourrie, B.C.T. et al. (2020). The microbiota and health-promoting characteristics of the fermented beverage kefir. Frontiers in Microbiology.
- Hertzler, S.R. et al. (2003). Kefir improves lactose digestion and tolerance in adults with lactose maldigestion. AJCN.